The Project
My youngest son Ethan had been wanting a better pair of speakers. He had been using a pair of small Infinity speakers from the ’70s that I found in a pawn shop. They sounded ok but were still lacking in boldness, so he recently ordered a speaker kit from GR Research and asked me to help him build them. Or to just build them.
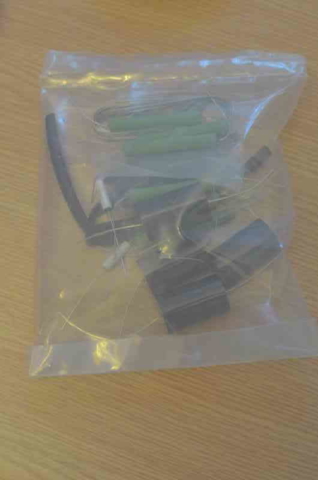
He ordered the A/V-1, one of the older kits available from GR Research but also their most successful. This kit uses a 2-way bass reflex (ported) design with 5.25 inch woofers and soft dome tweeters and includes all the parts necessary to build the speakers except for the wood and the sound damping material. The speakers can handle 8 to 100 watts of continuous power and are rated down to 55Hz in the recommended enclosure. The spec sheet is included to build this enclosure.
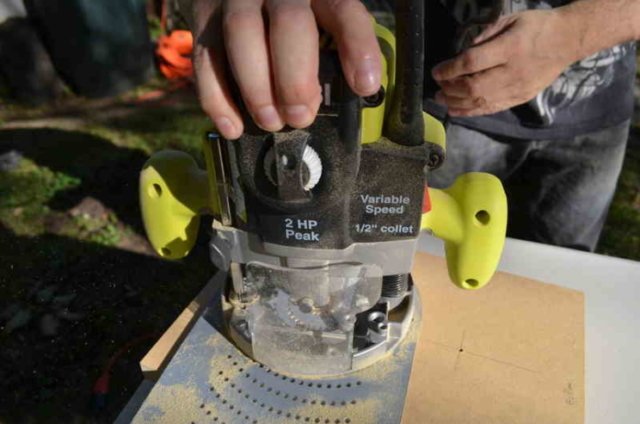
While waiting for the kit to arrive in the mail we bought the wood (a sheet of 3/4″ MDF) and readied the other items and tools to build the speakers. In the past I cut my holes with a jigsaw (guided by hand) and hole saw drill bits, but for a more professional look I purchased a circular jig for my router.
The Enclosures
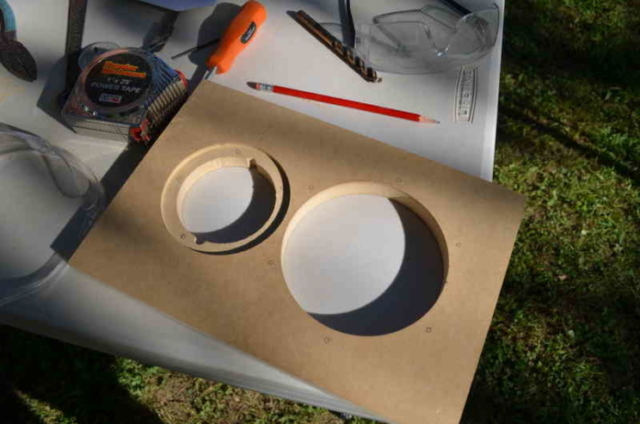
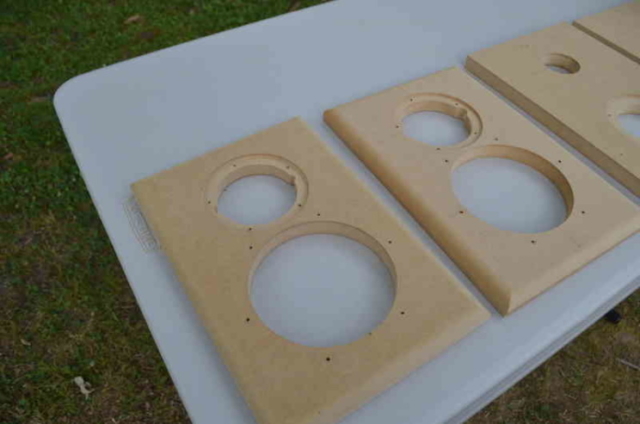
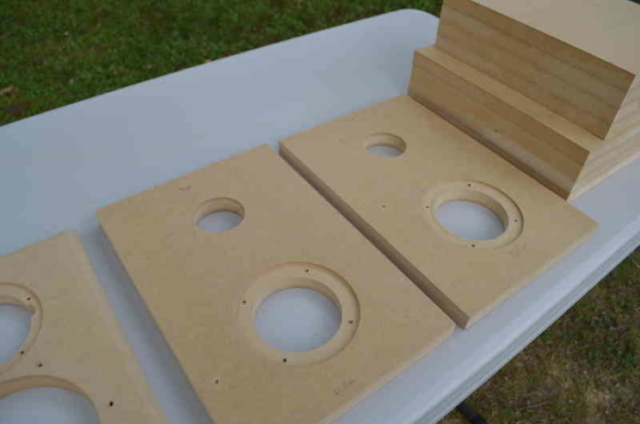
With everything needed now in hand, it was time to start cutting the pieces. Front, back, sides, top and bottom pieces were each cut to size according to the recommended specs. Next, the holes were cut out of the front pieces for the speaker drivers and out of the back pieces for the speaker terminal plates using the router and jig. I was using a portable table saw and portable tables to rest the sheet of MDF on. 3/4″ MDF is very heavy and awkward for this situation, so I made some preliminary cuts with a circular saw to make the pieces smaller and more manageable, then made the precision cuts with the table saw. I think in the near future I will make a track for a homemade track saw. I haven’t made anything this complex with wood in a long time so my tools and skills have a lot of room for improvement.
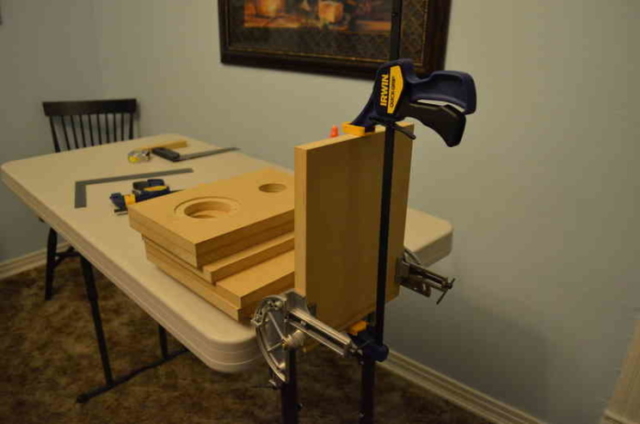
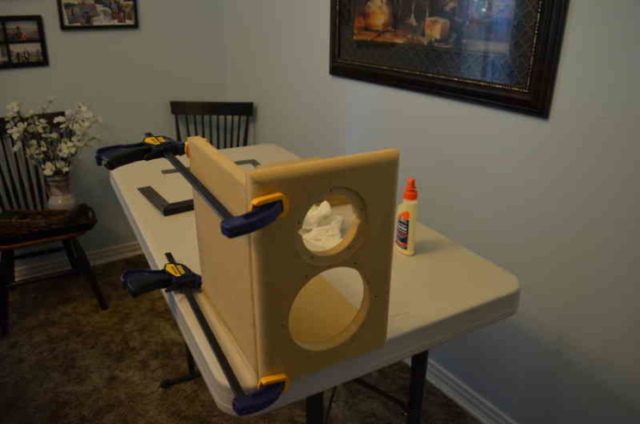
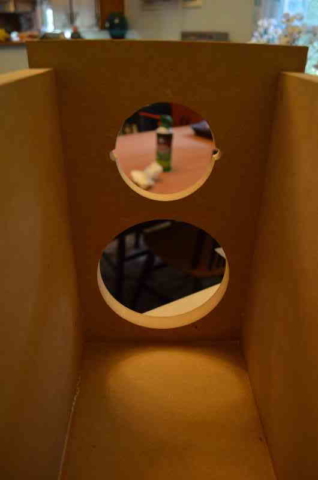
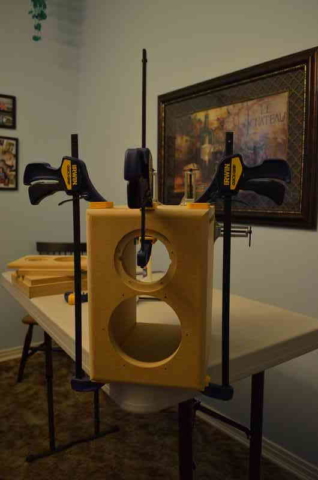
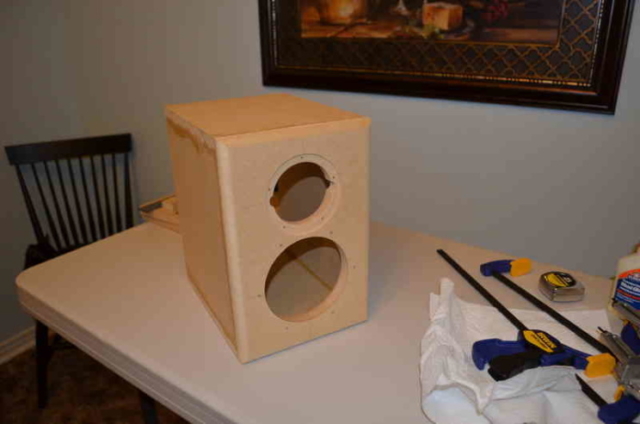
I used the router to round off the front edges of each speaker cabinet to give them a gentler appearance. After all the pieces were cut, routered and screw holes pre-drilled, it was time to grab the clamps and start gluing everything together. I used corner clamps to assure the initial pieces were glued on straight. After the cabinets were completely assembled, I used wood filler to smooth out all the seams. I let the cabinets set overnight to give the glue and the wood filler time to completely dry.
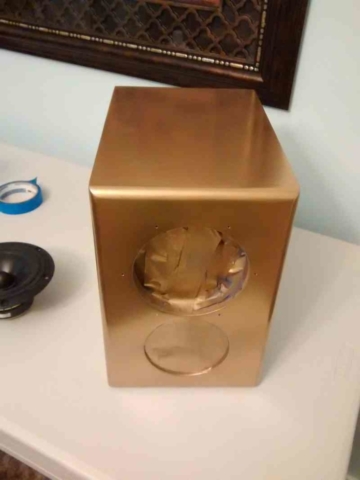
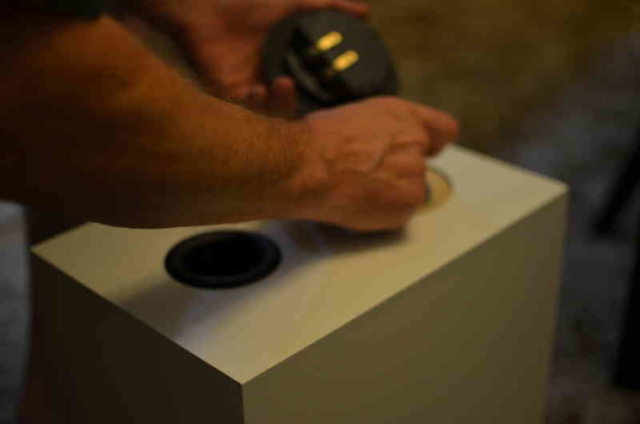
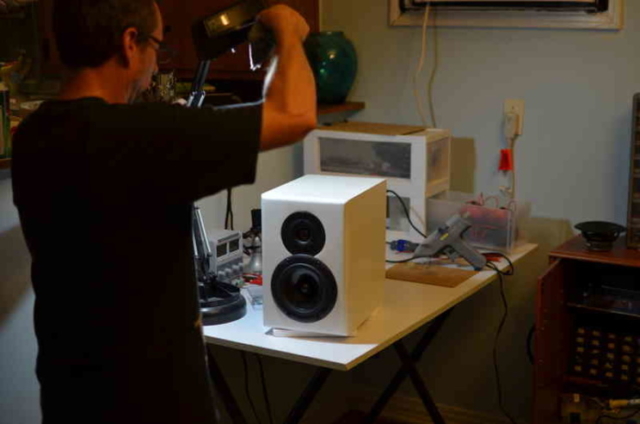
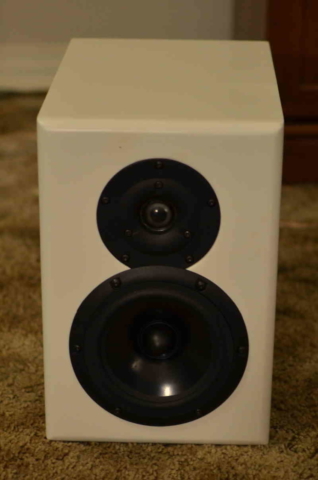
Next it was time to sand. These cabinets didn’t need much sanding other than to make the wood filler perfectly smooth. For color, Ethan originally wanted gold speakers. We tried a gold-colored spray paint, but he wasn’t satisfied with the look and decided to go with white. I suggested black since it might blend in better, but I’m glad he went with white because I have very little experience painting and a “piano black” would have taken more time and patience to achieve. The white was applied in several coats with a 2-inch roller and then sanded down with 2000 grit sandpaper. I ended up having to do a lot of sanding by hand because using a power sander caused the sandpaper to quickly get a build-up of paint on the sandpaper, requiring changing the sandpaper too often. I was using a sheet sander, but next time I will try an orbital sander. Maybe that won’t clog the sandpaper as much. The finished speakers do not have a mirror finish, but I’m satisfied with them considering what little experience I have painting and the fact that painting is one of my least favorite things about a project like this. Ethan is happy with the finish so that’s all that matters.
The Build
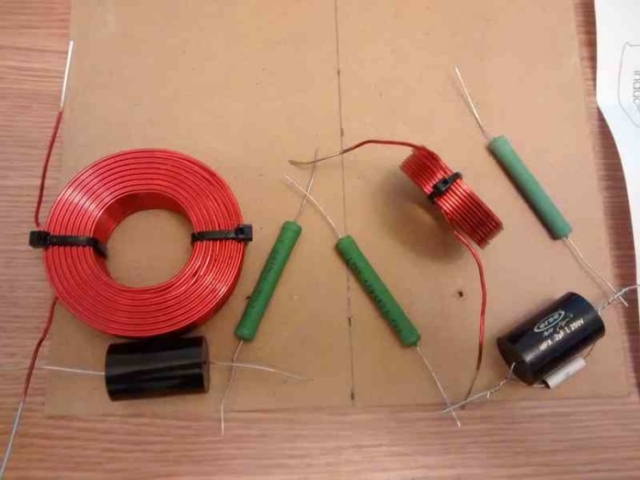
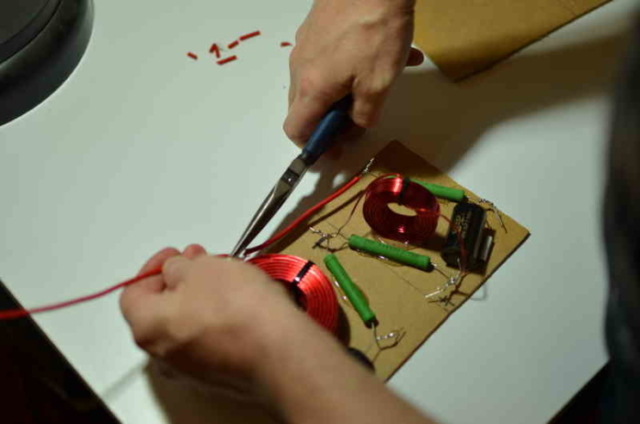
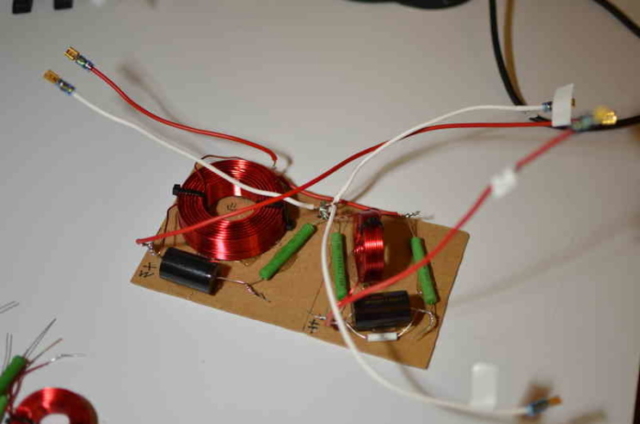
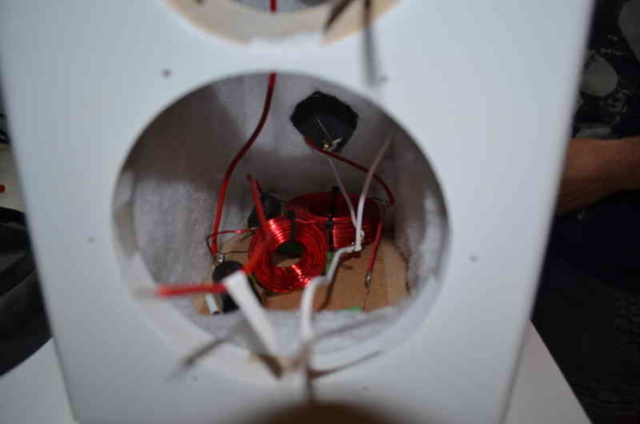
With the cabinets complete it was time to move from carpentry to driver mounting and electrical assembly. The kit included all the parts to assemble the passive crossovers. I grabbed some thin scrap board that I had and cut 2 pieces, 1 for the inside bottom of each speaker. I assembled the crossovers on these boards. I carefully laid out each component of each crossover, hot-gluing them to the boards, twisting the wire connections, then soldering. I was careful to angle the inductors in a way so the electro-magnetic field of each one would not interfere with the other. I soldered wires to the crossovers and crimped connectors onto the other ends so they could be connected to the inside of the speaker wire terminal plate on the back of the speaker. I used a labeling machine to make labels for each wire to simplify connecting everything later.
The Test
I didn’t have a decent wave generator handy to test these crossovers, but I wanted to “see” that they are doing what they are supposed to do, so I thought I’d try using the FFT function of my cheap oscilloscope to get a frequency response curve. I ran white noise through the crossover and measured the output at both the woofer and tweeter connections. I couldn’t get a fine resolution with this budget O-scope (plus I had never used the FFT function before, so I may have missed something), but I was at least able to see the upward curve for the tweeter and the downward curve for the woofer. To see a little bit more, I ran a continuous chirp tone from 20Hz to 20kHz from a pc (using a sound program called Audacity) and was able to capture a better image of the curve for each driver, but I wasn’t able to place a legend at the bottom or cursors to mark a couple of the frequencies on the screen. However, with both tests combined I was able to “see” that the crossover was doing exactly what it was supposed to: filter out the low frequencies for the tweeter (below 3kHz), and filter out the high frequencies for the woofer (above 3kHz). I tested both crossovers and the graphs looked identical. I also played pure test tones from a test cd to hear where the frequencies drop off for the woofers and tweeters separately. Note to self: acquire better testing equipment. I would prefer to use white/pink noise measured with a microphone and a spectrum analyzer in a soundproof room. That would measure the frequency response of not just the crossovers, but the combined practical frequency response of the crossovers and speaker drivers together.
The REAL Test
After connecting the speakers to his amp (NAD, 50 watts per channel RMS), we were ready to put them to the real test. I put on a vinyl of Peter Gabriel’s “So” album and these speakers sounded great. His amp doesn’t go to 11 but these speakers handled high volumes very well. They cover the entire audio range evenly and the bass at the lower end was better than I expected from a set of shelf speakers. Running test tones through the speakers you could tell the roll off was actually around the rated 55 Hz and the bass is very tight. We rounded out the “test” with Kraftwerk’s “The Man-Machine” album and “Who’s Next” by the Who. When you love music as much as we do, it’s very difficult to decide what to listen to in a situation like this because you want to listen to everything.
The End Or A Beginning
A subwoofer would obviously round off the bottom end frequencies better, but for most home music listening these speakers sound great for a $300 pair of speakers. I think this finished product rivals or exceeds manufactured bookshelf speakers in this price range and GR Research’s kit made this a perfect get-your-feet-wet audio project. The overall project was definitely a success and Ethan is very satisfied with them. Neither of us was disappointed. Most importantly, the project was fun.
In the future I may build a full 5-speaker set from this line of kits, starting with a center channel. Hmmm…I think I might also see some tube amplifier projects in my future…
